5 Pottery Techniques to Know for Breathtaking Ceramic Pieces
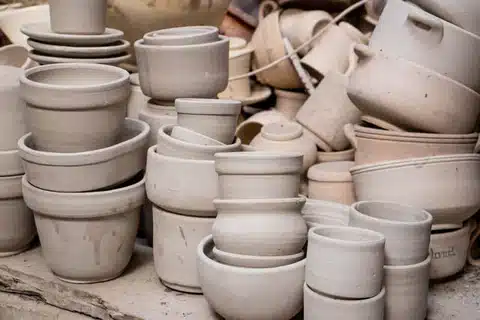
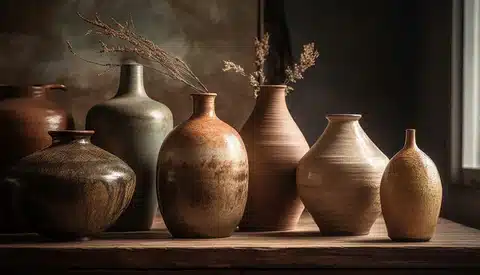
The art of transforming a body of clay into a functional or decorative object is magical. From kitchenware to ornaments, and sculptures to flower pots, clay is the literal building block of numerous household items we can find around us. It’s almost impossible to fathom how early human civilisations figured out how to change a soft, malleable and earthy material into something more, but these ancient revelations have led us to where we are today. Some of these stages and techniques have even persisted through generations, being used in these modern times despite the innovation of new pottery tools and machinery.
In this article, we shall take a closer look at the methods that go into the pottery shaping process shortly after the clay has been made. From pinching, coiling, to slab building and more, here are five basic techniques that, by traditional or modern discovery, can help you achieve fine and sophisticated pottery:
Pinch Pots
The pinch pot method is one of the oldest ways of working with clay for palm-sized vessels. It is also among the quickest and easiest in handbuilding pottery. A relatively simple technique that allows for many small and rounded creations, such as pots, mugs and bowls, pinch pots are ideal for small-scale projects for optimal control, consistent thickness with minimal distortion, and shorter active periods. Pinch pots typically activate the thumb and index finger at first, but may require the use of your remaining fingers and knuckles as you move along in your work.
Step 1: Begin preparation by taking a lump of clay and rolling it into a smooth, even ball. As mentioned earlier, it is preferable to extract smaller pieces of clay for smaller forms, as bigger ones can take much time and physical effort.
Step 2: Create an indentation in the centre of the ball by pressing your thumb gently against the surface of the clay. Once done, start pinching along the sides of the ball, stretching the walls as you make your way around. Your fingers should coordinate with the pressing of your thumb, providing support to the walls of the vessel.
Step 3: Repeat Step 2 until you achieve a symmetrical and even piece as desired. If adjustments are needed, you can drag the excess clay over to sparser areas to distribute the thickness accordingly.
Slab Building
Slab building is popular as a shaping technique for its unique and versatile properties. It involves the arrangement of flat pieces of clay, otherwise known as slabs, to create pottery of all shapes and sizes. These slabs can be obtained by preparing them through a slab roller, or manually with the use of a rolling pin. Both ways allow for scrap clay to be properly utilised to avoid wastage.
Step 1: Unlike other handbuilding techniques, slab building requires a bit of planning beforehand. Think about the number of slabs, in addition to the thickness and shape of each slab prior to assembly. Consider using templates that can help you nail down the measurements accurately.
Step 2: Work fast when assembling the pieces as slabs are manipulated easier when soft and pliable. Once moisture is lost through the atmosphere, it may be harder to shape cylindrical vessels. However, if you’re working on angular pieces, you can let the slabs stiffen up before putting them together.
Step 3: Append the slabs together with slip and score. Scratch marks on the surfaces where these pieces connect with each other, and spread some slip as an adhesive layer. Once attached, blend the conjoining areas both on the exterior and interior of the vessel.
Coiling
Another technique with its origins traced back to ancient times, coiling is defined by its usage of coils or long rope-like pieces of clay to build the structure of the pot. It is usually done starting from the base, spiralling upwards. Artists who employ the coiling technique can choose to either blend the outer walls of the vessel for a smooth and even surface, or leave the coils intact as a distinctive visual feature. Coiling may be preferred in some scenarios as it is highly intentional, making it a slow and controlled process due to its involvement of layered construction and precise alignment.
Step 1: There are two things you need to prepare – your pot base and coils of clay. Make your coils by retrieving a small lump of clay, then roll it into a ball. Flatten the ball on an even surface and roll it back and forth, forming a coil. Ensure that there is consistency in thickness throughout the length of every coil. If your fingers are leaving depressions in the ropes of clay, consider using your palms.
Step 2: Align your first coil on top or around the base and attach them by slip and score. Work your way upwards coil after coil, with the beginning and end of each coil cut laterally, applying slip and score to match and affix with durability in mind.
Step 3: Once your desired form has been achieved, blend the interior and/or exterior of the vessel. Choosing to blend and smooth only the interior of the pot results in textured and dimensional pieces, while doing the same for the exterior results in a refined and modern appearance. Nevertheless, it is best to blend at last one side to preserve the shape of your pottery and prevent the risk of detachment or breakage.
Wheel-Throwing
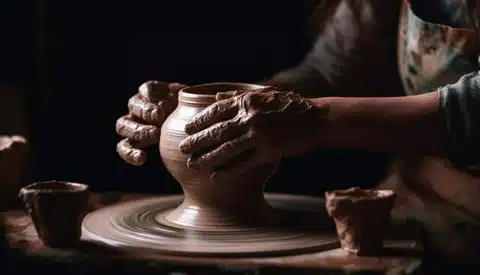
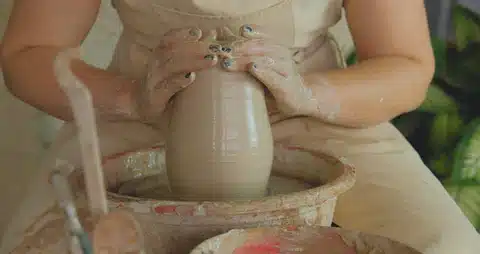
A potter’s wheel is usually the first piece of equipment that comes to mind at the mention of ceramics. It is undeniable that wheel-throwing has become a crucial and classic part of pottery production all over the world, and for good reason. It is at once efficient, versatile, and time-saving in ensuring symmetry and control when shaping clay. Utilising a potter’s wheel, this somewhat relaxing technique starts off with a ball of clay in the centre, before it is moulded and spun into most of the rounded ceramic wares conceivable.
Step 1: Wedge the clay to remove air bubbles and transform it into a smooth, homogenous mass. Position and fix the lump of clay in the centre of the wheel such that it can spin smoothly and easily.
Step 2: Make a dent in the centre of the clay, with ample space at the bottom to serve as the base of the piece. This dent functions as your opening to the vessel.
Step 3: Hug the borders of the clay with your thumbs inside the opening and your fingers outside. Pulling the sides of the pot, begin shaping the clay, supporting its walls as the wheel spins. Move up and down the length of the pot with controlled pressure to effectively mould and maintain the thickness, consistency and shape of the clay, until your intended silhouette is achieved.
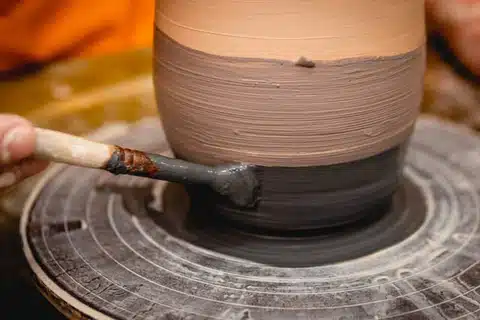
Slip Casting
Slip casting differs from other conventional pottery techniques as it calls for a set of unique materials. Done by pouring liquid clay (slip) into a plaster mould, slip casting has presented itself as a significant advancement in the manufacture of ceramic and porcelain wares for its ability to create uniform and identical items effortlessly.
Step 1: Fit your two-part plaster moulds together and secure them in place. Ensure they are clean and free of debris before proceeding to pour the slip into the mould. Do this on an even surface, and ideally with the use of a ladle or funnel for maximum caution and control. Do not overfill but fill it up to an appropriate level, slightly below the rim.
Step 2: Let the clay slip sit for as long as necessary, depending on the size of the cast. Once it has settled, drain any excess slip by turning it upside down. This leftover slip can be reused for future projects.
Step 3: Your work is to be left to harden. The clay layer inside the mould should be dry enough to retain its shape on its own. When it has reached that stage, it is safe to remove the cast piece from the mould by carefully lifting out and away. You may choose to trim and refine any imperfections on the surface prior to firing.
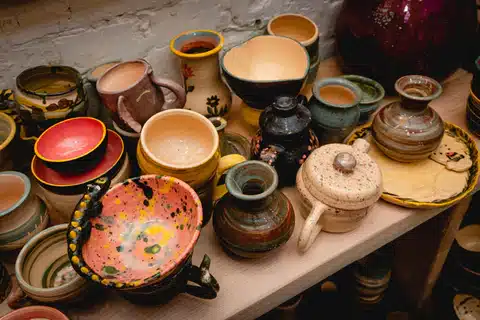
Conclusion
Pottery is an intriguing art form that knows no bounds, where your creations are only limited by your imagination. While we have covered five of the most prevalent pottery techniques out there in the world today, there is still plenty more to be discovered and attempted by talented and resourceful artists like you.
At Terra & Ember, you can try out some of these pottery building methods with the guidance and support of exceptional ceramists. From effective wheel throwing, to channelling your innermost visions by handbuilding, our studio is the place to go for visionaries waiting to create something truly spectacular.