A Pottery Making Guide for Beginners
Making pottery is an amazing art. From Functional tableware and vessels to sculptures, installations, and mixed media—the possibilities in pottery are endless! Potters create decorative ceramics or useful items for your home. If you are new to pottery, then consider this your beginner-friendly pottery-making guide
Pottery is made by combining naturally occurring raw materials, such as clay, earthen minerals, and water, shaping them into the desired shape and heating them to very high temperatures, and then using pottery methods to enhance the rigidity of the pottery. In this article, we are going to learn how professionals make their pots and how you can make your own pots at home.
What kind of pottery to make?
First things first, a potter starts by deciding what kind of pottery he is going to make. Once that decision is made, clay is chosen.
Ceramic objects are often made from clay. There are different clays with different benefits. The type of pottery determines which type of clay is best to be used.
There are three types of clay: earthenware, stoneware, and porcelain.
Earthenware
Earthenware clay is not only the most commonly used clay today, but it also happens to be the oldest clay as well. They can be easily molded, but they are porous and not very durable. It is the best choice for a beginner in pottery since it is easy to handle.
Stoneware
Stoneware clay makes stone-like pottery. This clay is waterproof and the most elastic.
Porcelain
Porcelain is considered to be the best clay. It is resistant to water and high temperatures. But it is very expensive and highly elastic, which makes it more difficult to use. This clay is not recommended for a beginner.
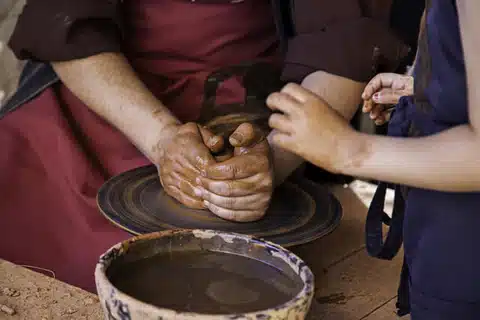
What is Wedging?
Before a potter starts with a project, he needs to get the clay ready. He takes a fist-sized piece of clay and works it thoroughly by wedging the clay against a surface to remove any air bubbles. By removing these air bubbles, the clay particles get to meet each other, and the clay becomes easier to work with. This comes in handy when beginner throws his hands on a lump of clay for the first time.
Shaping a clay
Shaping your clay into a form can be done in many ways. Some commonly known ones are listed.
Coiling
Coiling means making different coils of your clay and fixing them to one another to give it your desired shape. It does not require any additional equipment and can be done only by hand.
Pinching
This method is also hand-done. In this method, a potter keeps pinching a piece of clay until he forms a pot-like shape.
Coiling and pinching are both for beginners to start with, as they do not need any of deft with one’s hands.
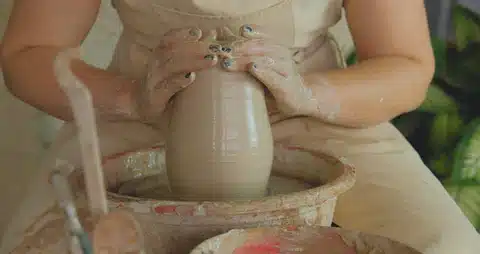
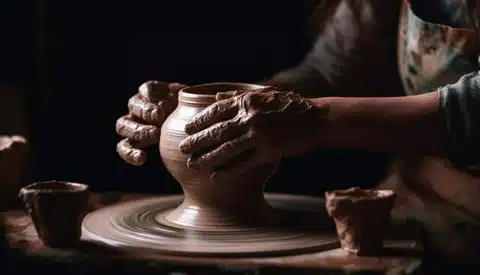
Throwing
The most effective and common method of pot shaping among professionals is throwing. In throwing, a piece of clay is placed at the center of a pottery wheel. Then, with the assistance of water, it is expertly coordinated with your hands into a pot shape. When an object is thrown into a shape, it is allowed to dry until it can be flipped over without becoming deformed. Then it is cut off from the wheel.
Potters use all of these methods to keep the walls of their pots uniform in thickness. The ideal thickness is about an inch, which can avoid cracking during the later stages of drying and firing. Pottery wheels have been a breakthrough in the pottery industry. With them, more perfect pieces of pottery can be made, as they help maintain radial symmetry.
Clay can be recycled and reused until it forms something desirable.
It may take some months of practice for a beginner to become proficient with this technique.
Decorating the pot
When the clay starts to feel nice, like soft leather, it becomes ready for decoration and detailing. During this stage, the clay has already hardened up a bit. It has lost some moisture but not all of it. This is when a potter starts adding details to his pots.
As a beginner you can mark designs, draw sculptures or patterns on the pots, or trim some clay off the bottom to make an indent. Handles, lids, and other appendices are also be added during this stage. This stage is also called the “leather hard stage.”
Cooking the pot
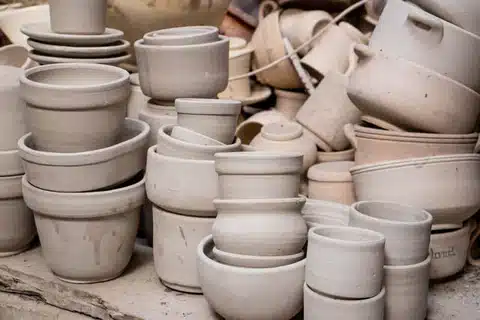
Bisque firing
The first fire is the bisque fire. A potter makes sure the clay is bone dry (has lost all moisture) before he puts the pot in a kiln.
This is something a beginner should always keep in mind before cooking his pots because if the clay is not completely dry, it will crack during the firing as the moisture in the walls of the pot will turn into steam, but there will be no place for the steam to escape.
Once a pot is bone dry, the kiln is loaded, and the pot is fired. As a beginner, you need to make sure that the temperature does not exceed 1063 degrees Celsius during the bisque fire.
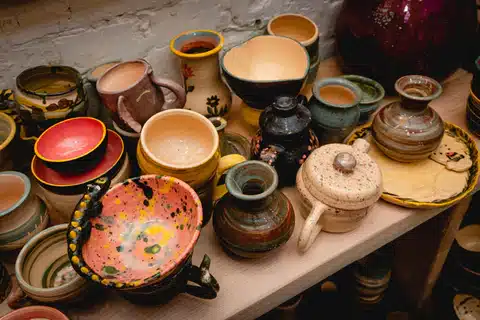
Glaze Firing
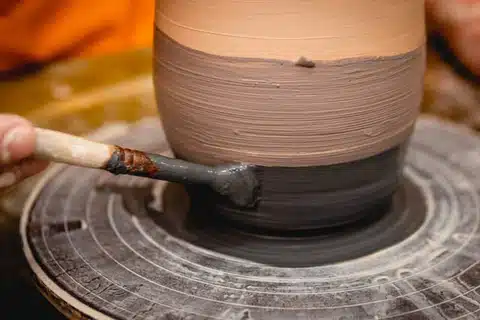
Once the pot is bisque, glazes are applied to the bisque ware, typically by dipping the pot in glazes, but brushing and spraying techniques are also used for glazing.
Once glazed and dried, the pots are put back in the oven, where they are baked for a shorter time but at a higher temperature. The temperature in the glaze firing process can reach 123 degrees Celsius.
These are some mandatory steps that you will have to follow as a beginner in pottery.